Unless you count the Goblin Town terrain I have been painting (which I don’t), I have never made any terrain before and certainly not from scratch. Thankfully, there are some great videos on Youtube by the Terrain Tutor to learn the art of terrain making. Thanks to a video on making scatter terrain with cd bases, I finally jumped into this part of the hobby.
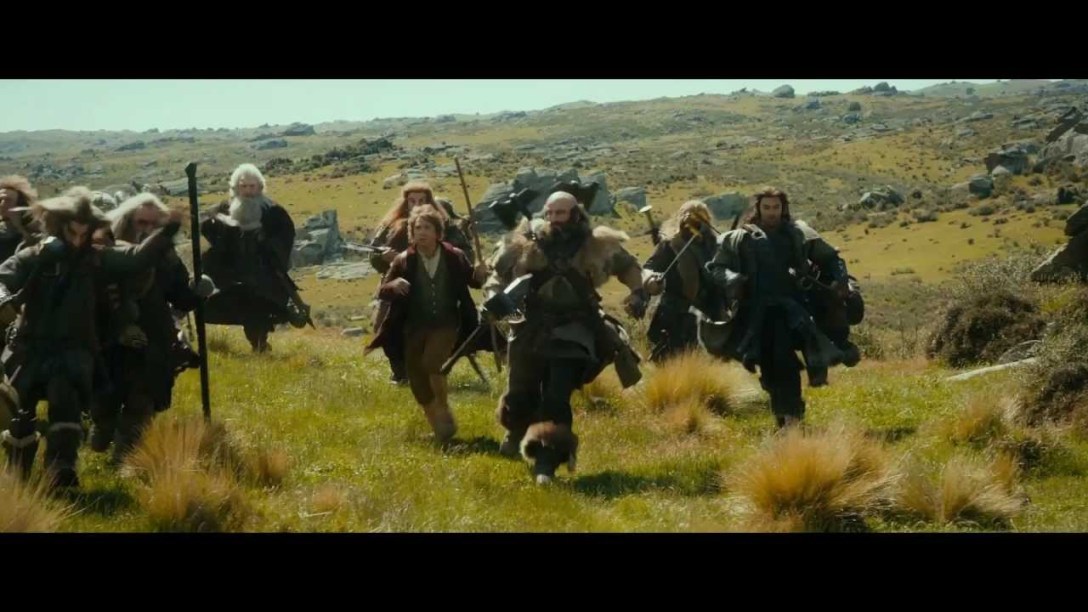
My main goal is a “board” that can be used for many of The Hobbit: An Unexpected Journey scenarios. Yes, I’m maximizing how many scenarios fit on the board a bit because there is no sense in making a board specifically for Roast Mutton (which is in a forested area), for example but since each of the events happened in the same general area, I think I can get away with this. In my head, I wanted the terrain and board to look like something you see below.

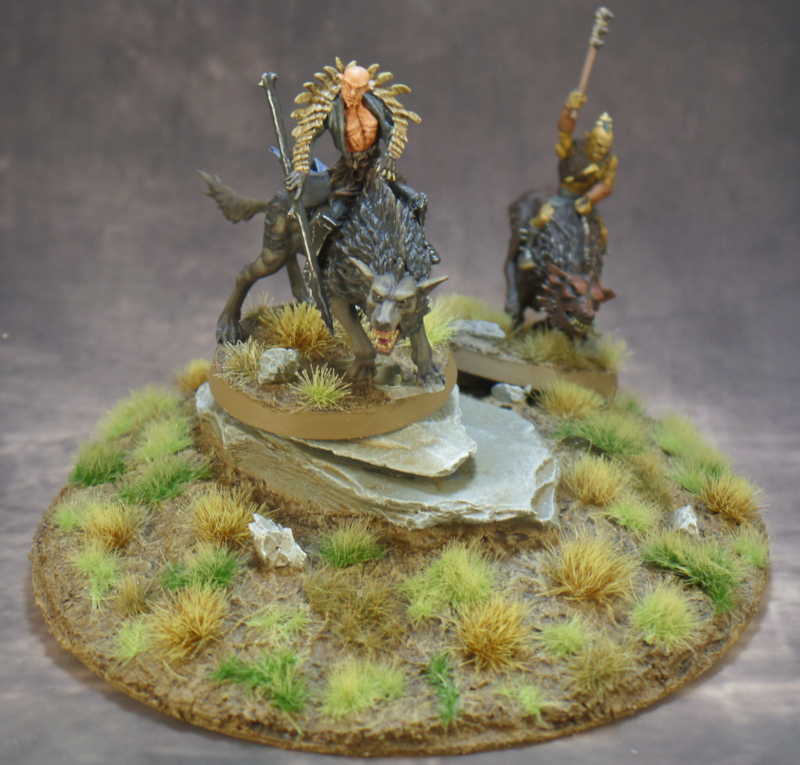
So how did I do? Well not too bad. I stuck closely to the base design I used for recent Hobbit minis because I knew that would help tie everything together. I think the tall and wild grass look definitely comes across in the small hill too which is great. Using a cd as a base was pretty easy and I happened to have some slate I bought a while back that looks pretty good as the crest on the hill. I need to make some taller, bigger hills at some point and make some bigger rock cliffs but one step at a time. It will be interesting to see if the basing paste from Vallejo and all the tufts prove to be sturdy enough for terrain as well.

But the bigger question is, how would this look on a mat? I scoured the internet for a mat that captured the tans and greens you saw in the images above from the movie and the closest I could find is pictured below. The greens are brighter than I wanted and more prevalent but I just couldn’t find many convincing “plains” mats like I had hoped. I wanted one because I figured the terrain I make for this movie could easily be used for Rohan scenarios too. That may still be a possibility for down the road, I will just need to make a lot of terrain to dull down the bright greens on the mat. The upside is that this mat could easily be used for Shire terrain if cover up some of the rock cliffs on the matter (which is easily done) so I should have a pretty versatile mat here.


While I’m still in the acceptance phase that this terrain isn’t going to exactly match what I thought it would, I do think I’m on the right track and I got my first piece of terrain made easily and painlessly. It really didn’t even take a ton of time and I think I learned enough tricks that I can make terrain even more efficiently in the future. So all in all, mission accomplished here. I just need to make some more hills and then delve into tree making and I should have enough terrain for Roast Mutton with the three trolls!

Very nice! It’s funny, I had actually got some old cds to do a terrain on a cd project too. Just haven’t had the time to do it.
Only suggestion I might make is to just have the one piece of slate, easier for the hunter warg to stand on.
Mapper from One Ring.
LikeLiked by 1 person
Hey Bret, thanks for stopping by! Your advice is spot on. When I made this, my concern was making sure the hill could block sight on the other side for at least some minis and one stone wasn’t enough to do that. I wasn’t thinking about having minis sit on top of it until I took pictures and it was too late by that point! I will definitely remember this going forward as I plan on making a couple more cd hills to build out my board.
LikeLike
Your terrain piece came out fantastic! Looks like a piece from the movie set to me. Good job. 😀 It’s extremely hard to 100% match a bought game mat. Yours is close enough in my eyes to look good and I wouldn’t worry about it. The only way to get the best match is to make the ground cover yourself from the sane materials as the terrain.
On Sat, Jun 8, 2019 at 2:09 PM Battles in Middle Earth wrote:
> Kuribo posted: “Unless you count the Goblin Town terrain I have been > painting (which I don’t), I have never made any terrain before and > certainly not from scratch. Thankfully, there are some great videos on > Youtube by the Terrain Tutor to learn the art of terrain making” >
LikeLiked by 1 person
I appreciate your kind words as always and I think you’re right. I always try to aim for the stars and then have to realize that what I want isn’t entirely possible or realistic. I should just worry about making as nice of a board as I can in a reasonable amount of time and I think now I’m in a better frame of mind to do that 🙂
LikeLike
Great little hill you’ve completed there – before you know it you’ll be working on huge, grand pieces!
A bit of extra advice – when you’re making larger and higher pieces, you can use some cheap foam to bulk them out before adding your filler on top. Similarly, go for cheap “polyfilla” type stuff from the hardware store instead of much more expensive Vallejo modelling paste. 🙂
LikeLiked by 1 person
Cheers mate! It is definitely a confidence builder and once I get some supplies, I will tackle a larger hill 🙂 I do need to get some polyfilla though my Vallejo paste is somewhat old and getting dried up so using it for terrain doesn’t bother me at all. Its easier to use on a hill and more forgiving than on LOTR figure bases for sure!
LikeLiked by 1 person